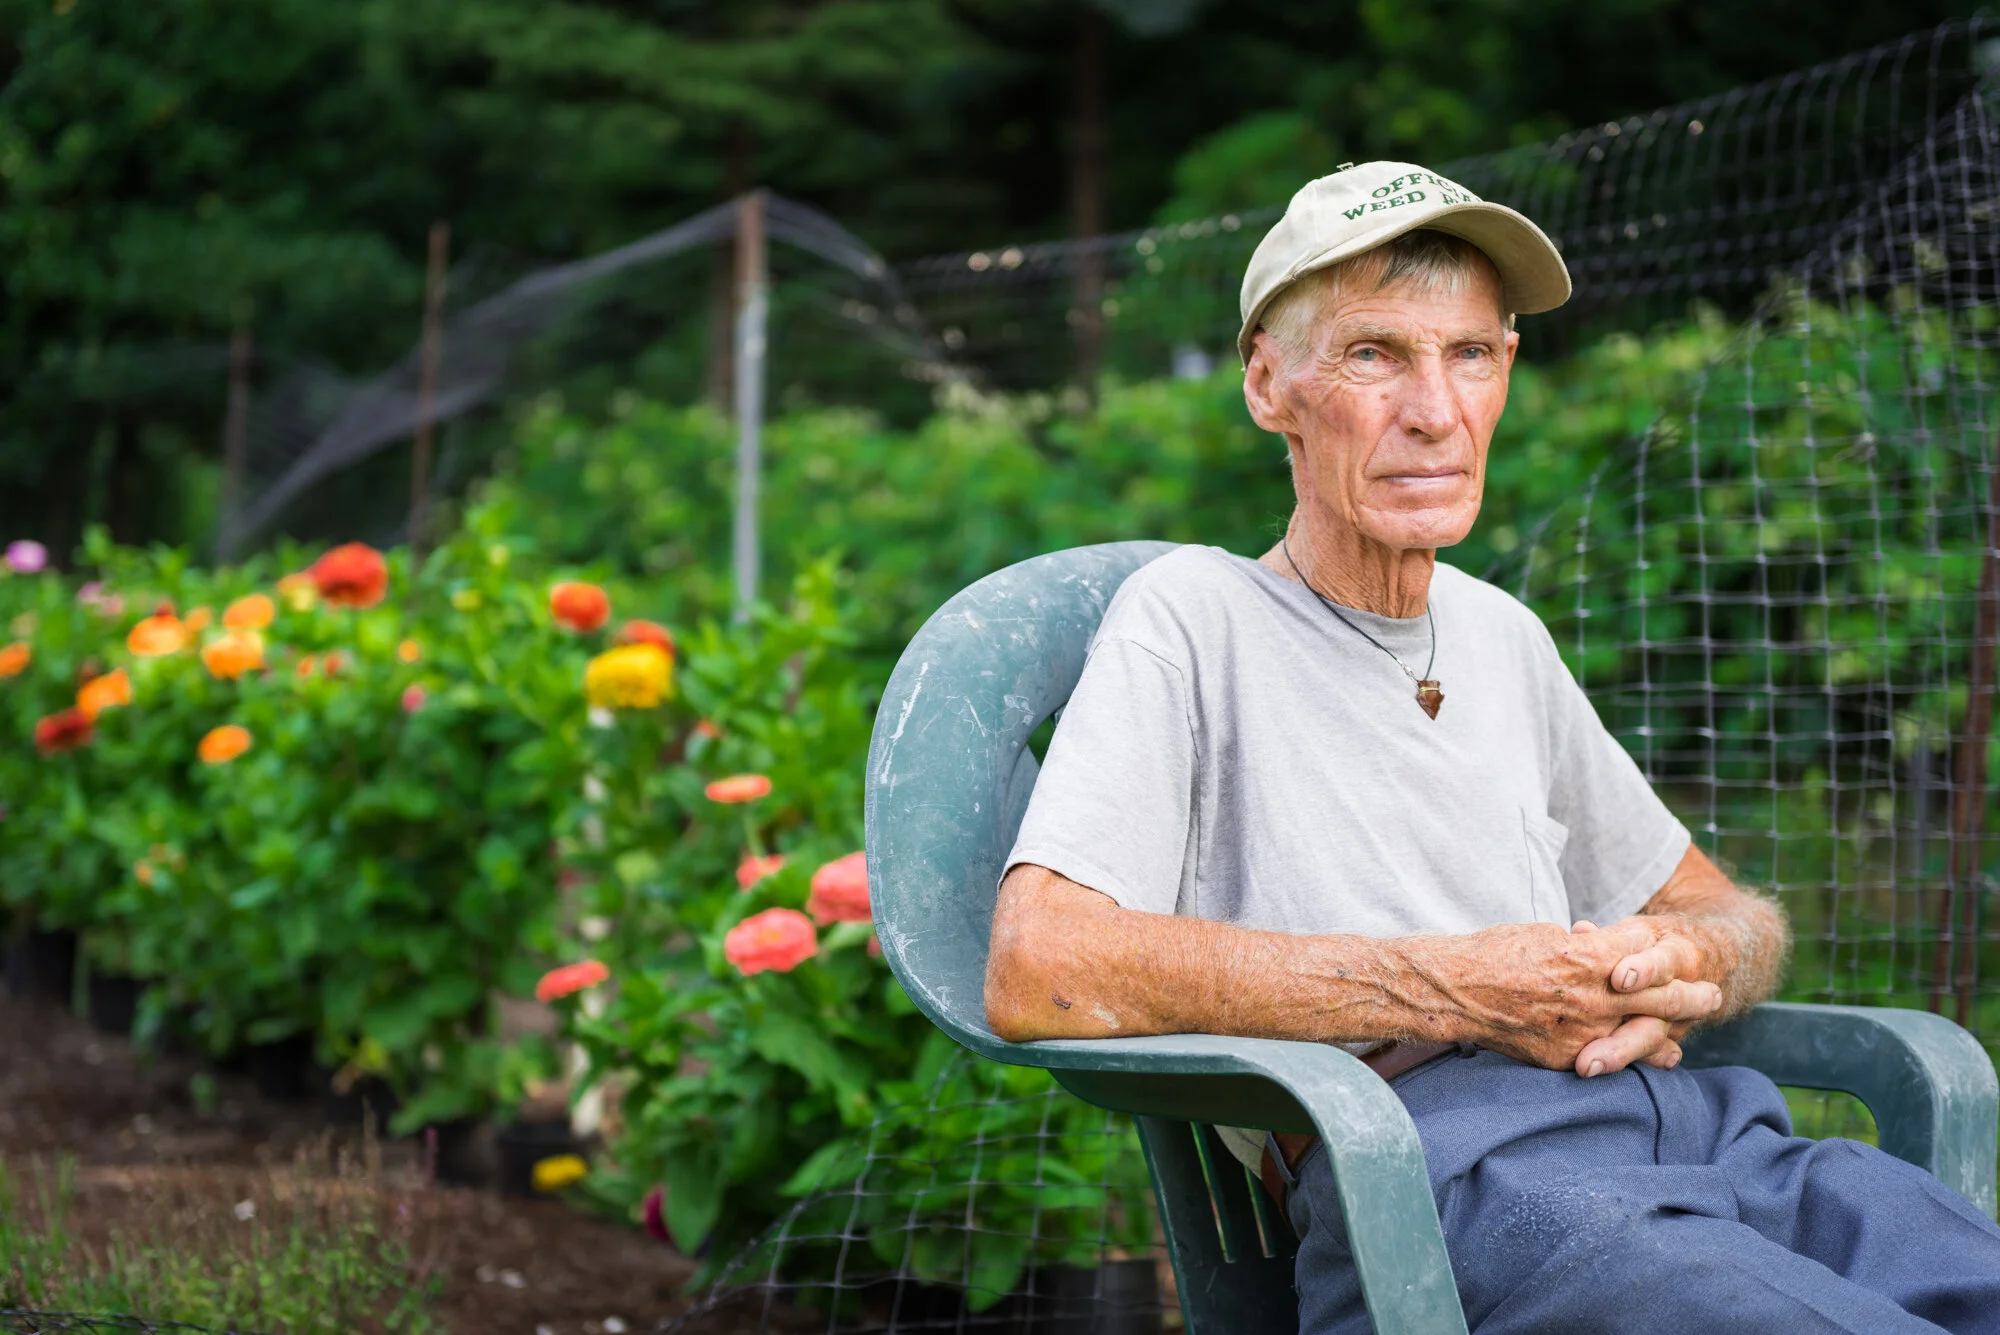
Paul Jackson
Man of the Land
The Man:



The Homestead:


It all begins and ends with the soil.
Whether it's carted home from a farm in trash cans or delivered in a dump truck, amass a pile of fresh cow or horse manure. Let it sit, age, for at least one year. It's of no use when it's green, new. Let the manure age into rich black humus. That's the gold, the secret. Then, plant the garden! If worse comes to worst and there is no aged manure, then buy aged compost; beware of bags that are stored outdoors and may have absorbed water. The manure should be dry and loose. If you're lucky enough to know someone who has horses, then you'll have plenty of free manure.
Spring
Spread the aged manure, the humus, over the entire garden. Be generous. Rototill it in with a little 10-10-10 all-purpose fertilizer—10 percent nitrogen, 10 percent phosphorus, 10 percent potassium. Now, the garden is ready for planting. Most things are planted in a tilled row by hand trowel, but sometimes a plant wants its own hole. Add lots of aged manure to each individual hole. For a single tomato plant—dig a large hole; add one wheelbarrow full of aged manure; then plant one tomato plant in the fertilized hole.
Fall
Fallen leaves are another key ingredient for amending and building rich soil. Leaves are full of nutrients and, when chopped up, they help to keep the soil light. Paul fills one hundred or more barrels with leaves he rakes from his secret spot. He uses everything except oak leaves, which are too acidic, too leathery, and take too long to break down. Leaves are porous, plentiful, and free.
Plant a crop of winter rye on the empty garden, and by late October it should be a couple inches tall. Paul spreads and chops the leaves with his lawn mower, which also trims the rye. Then he rototills everything into the soil. The leaves, along with some of the rye, get tilled in and left to rot over the winter. There will still be enough rye growth above ground to hold the soil over the winter. In the spring, after the manure is spread, the remaining rye gets tilled in.
Rototilling is key…
Rototilling keeps the soil loose and absorbent and allows the plant roots easy travel to obtain the nutrients they need. Paul uses a medium sized, Troy built, rototiller because a large tractor would compress the soil. He wants the soil rich, soft, and loose. There will be weeds, which take food from the plants. Soft soil makes weeding a breeze, and persistent hand weeding also pays off. It is important to be consistent and thorough with weeding.
Paul’s recipe for the perfect soil:
Spring - aged manure and 10-10-10 fertilizer
Fall - dead leaves
Winter - cover crop of rye
Working the Land:




The Basic Planting Method (BPM)
Spread and rototill well-rotted horse manure mixed with a little 10-10-10 fertilizer down each garden row. Straight rows make a garden look beautiful. Plan out rows using a length of string tied to a stick at each end of the row. Use a small trowel to plant with the recommended spacing. The soil should be soft as it's been tilled it twice.
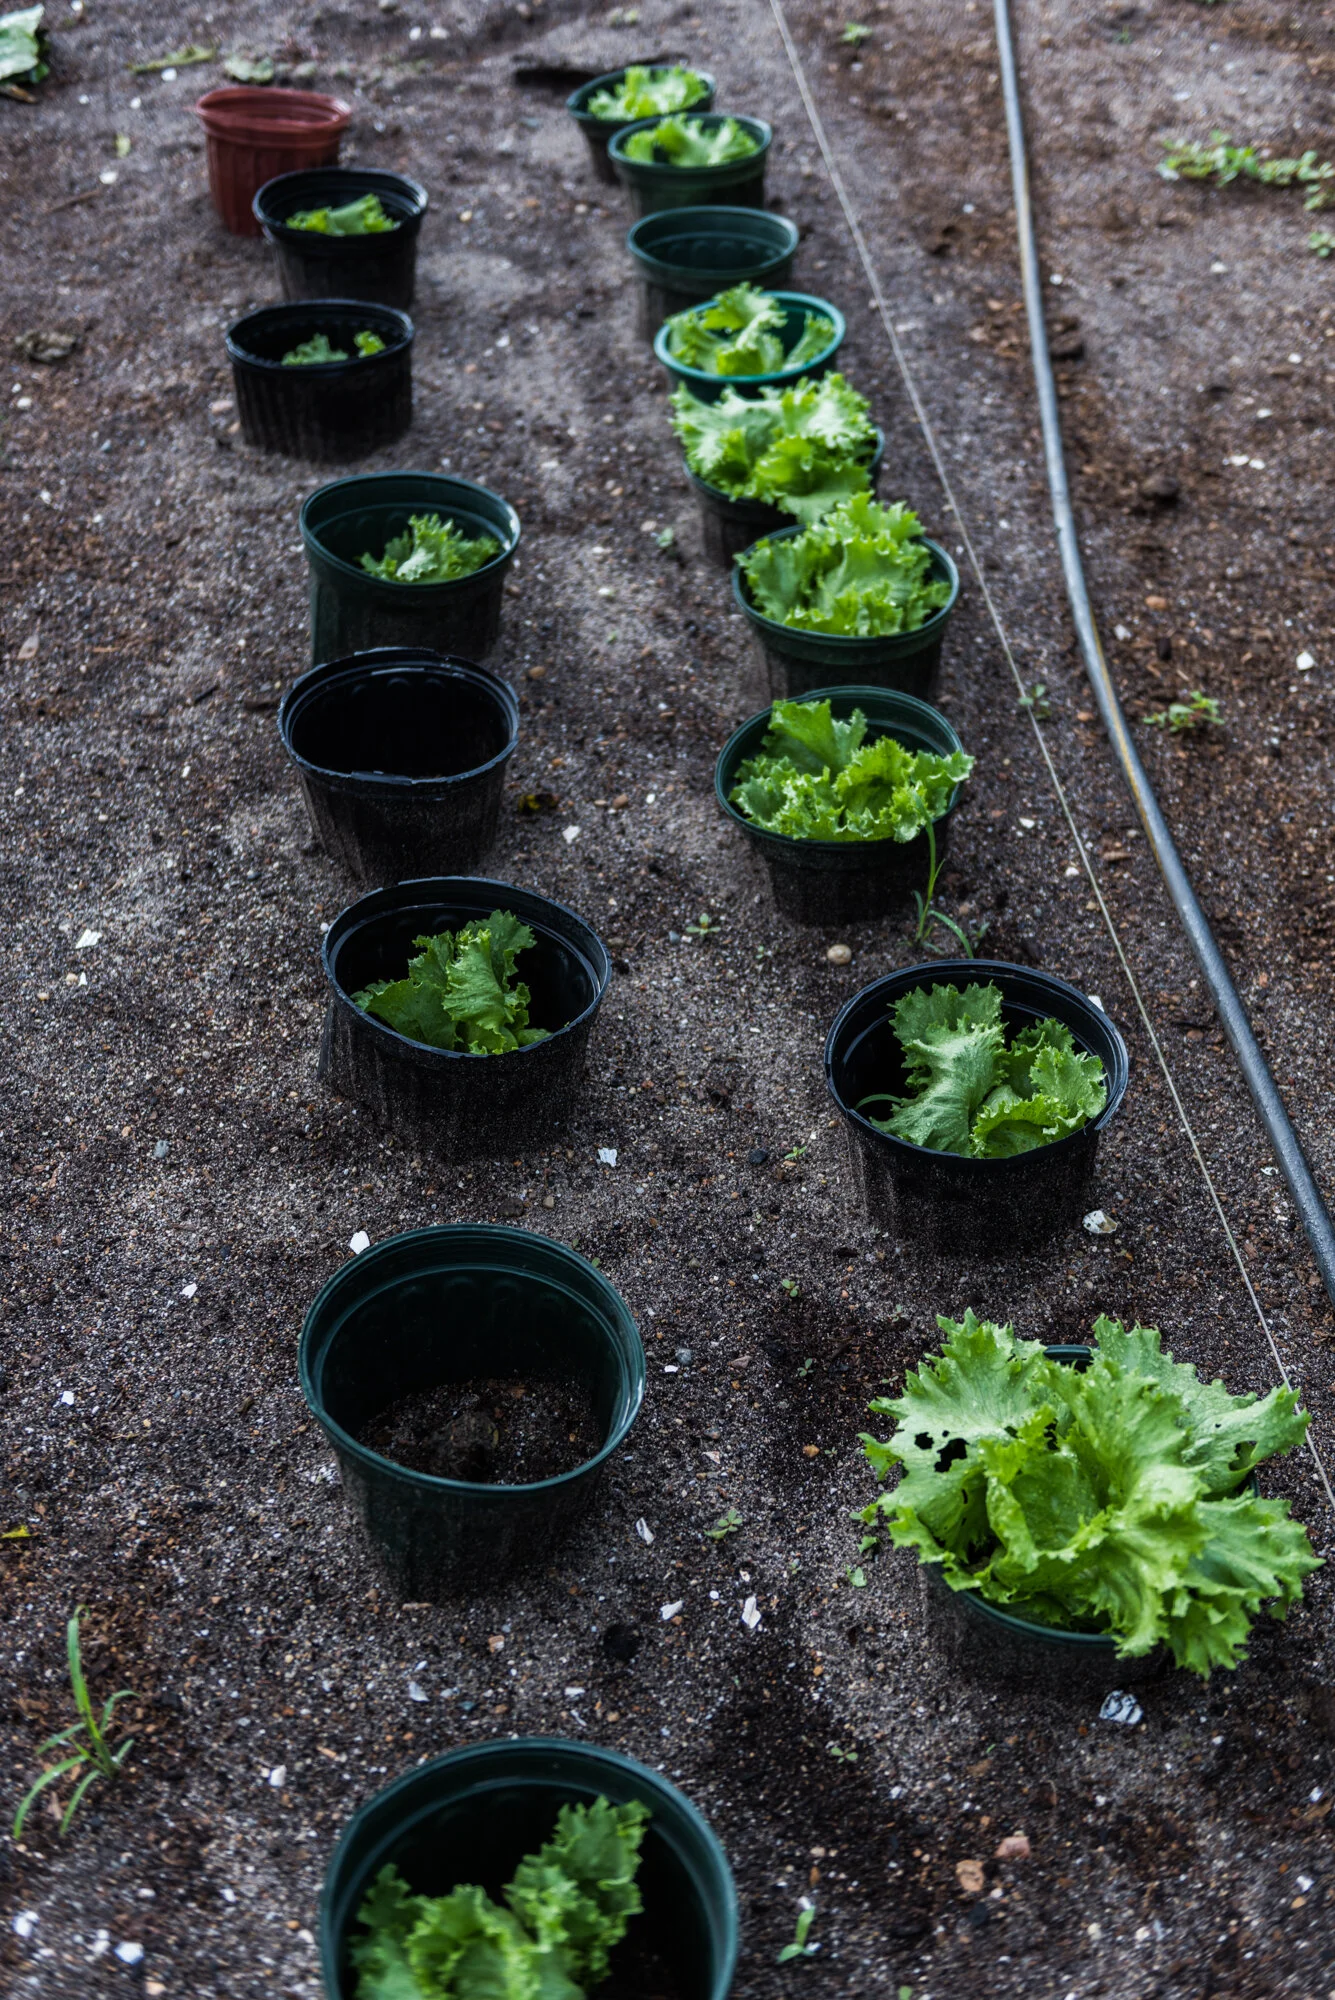
Use a Sawzall reciprocating saw and remove the bottoms of several 5-12" plastic pots. After the plants are in the ground, place a pot over each, making sure the pot is big enough for the plant, and press it down into the soil around the plant. The pots act as collars that protect the plants from wind, with the added bonus of focusing the watering. At the end of the day, water inside the pots with a hose or sprayer wand. Relax, listen to the birds, and daydream.
Using bottomless plastic pots is a sustainable way to garden, as they offer both protection from wind and conservation of water. You can find free plant pots at the dump or from your local landscaper. Yes, it is extra work, but you can reuse these, year after year.
Starting seeds
Plant smaller seeds directly in a flat with soft, rotted, screened manure mixed with sandy textured old manure. Once the seeds root and out-grow the flats, transplant the plants to pots. Bigger seeds, like beans and corn and squash, sprout on the kitchen table on trays between wet/damp paper towels. After they sprout transfer them into individual pots.
Protect the garden
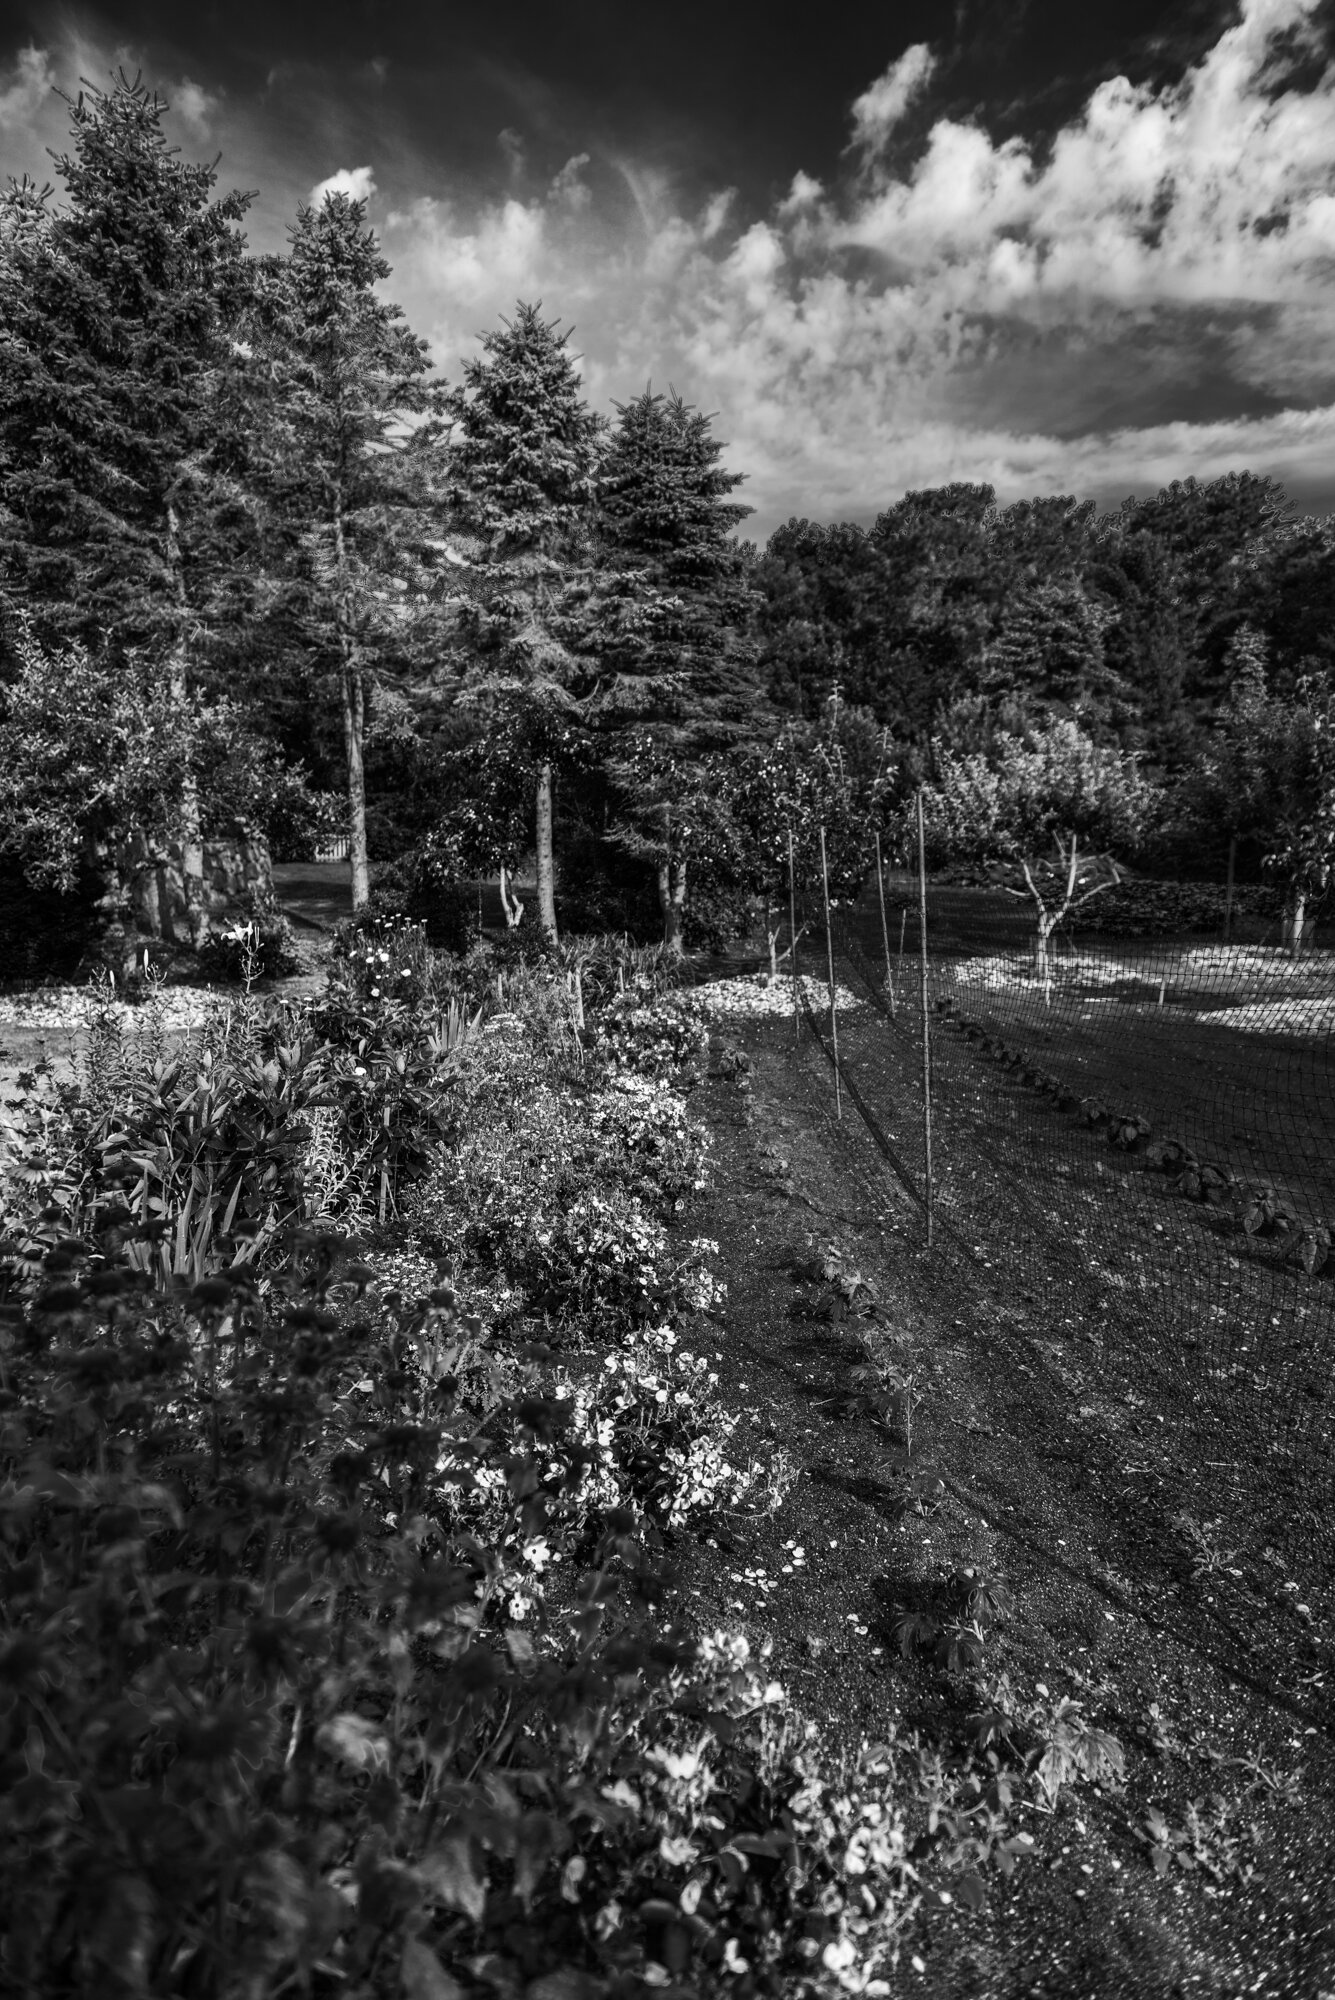
Fence the garden using seven-foot plastic deer netting tied to re-rod posts about every ten feet or so. This will keep the deer from eating and trampling your garden. Make sure the fence meets the ground, and maybe even cover it with dirt at the bottom to keep the rabbits out.
Now for some specific growing tips from A-Z.
“A” is for apples.
Paul grew up in poverty, often having to scavenge for food. Near Paul's family home, lived a man with an apple orchard. This man had a scallop shucking shack on his property. This man shucked scallops and spread the wet, stinky shells and guts around the base of the apple trees. The guts fed the trees and the deer didn’t like stepping on the shells.
Later, when Paul planted his own apple and other fruit trees, he remembered how much delicious his neighbor's apples were. So, he too spread scallop shells around his trees, and continues this practice today. Every year, he transfers the old scallop shells to his driveway and places new shells around the trees. Driving over the shells breaks them down and has made a beautiful, glistening, white driveway. Free scallop shells, if you're lucky enough to know a shell fisherman. If you don't have access to scallop shells, purchase and use a fish-based fertilizer.
To plant an apple tree, dig a really big hole and fill it with rotted manure. If wind is a factor, then anchor your tree with wire. Wrap the trunk with a plastic protective sleeve to keep the deer away, and wire around the base to keep rabbits away.
Spray the tree with dormant oil in the early spring, to protect against insects and mites. Never spray anything in bloom, so as not to interfere with the bees. If necessary, later in the season, spray the tree with neem oil, a biopesticide used in organic farming.
Consistent watering is important.
The expression “dead ripe” applies here. When apples fall, they are ready. The last part of the ripening of any fruit or vegetable is where the flavor and nutritional value come in, so don’t pick the fruit too early.
“B” is for beets, beans and broccoli.
Use the Basic Planting Method (BPM) and bottomless pots to plant green and yellow beans, beets, and broccoli. Beware of small, white, butterfly looking moths that lay eggs on broccoli plants. Paul keeps a butterfly net handy to catch the moths, and then squishes them.
“C” is for cucumbers, cauliflower, cabbage, corn and carrots.
Cucumbers, cauliflower, and cabbage benefit from the BPM. Put pots with no bottoms around them.
Start corn seeds indoors on a plate or tray between two layers of wet/damp paper towels. After the corn has sprouted, transfer the seeds into 4" pots. When the plant grows to 2-3" inches tall, put it in the ground. Ground planting usually happens from the middle to the end of May. No pot collars are needed for corn, but a fence is a good idea to protect it from animals. Corn must be planted in a square of short rows, so it pollinates properly. Plant only one variety to prevent cross pollination. Plant corn in succession; as one crop ripens plant the next batch.
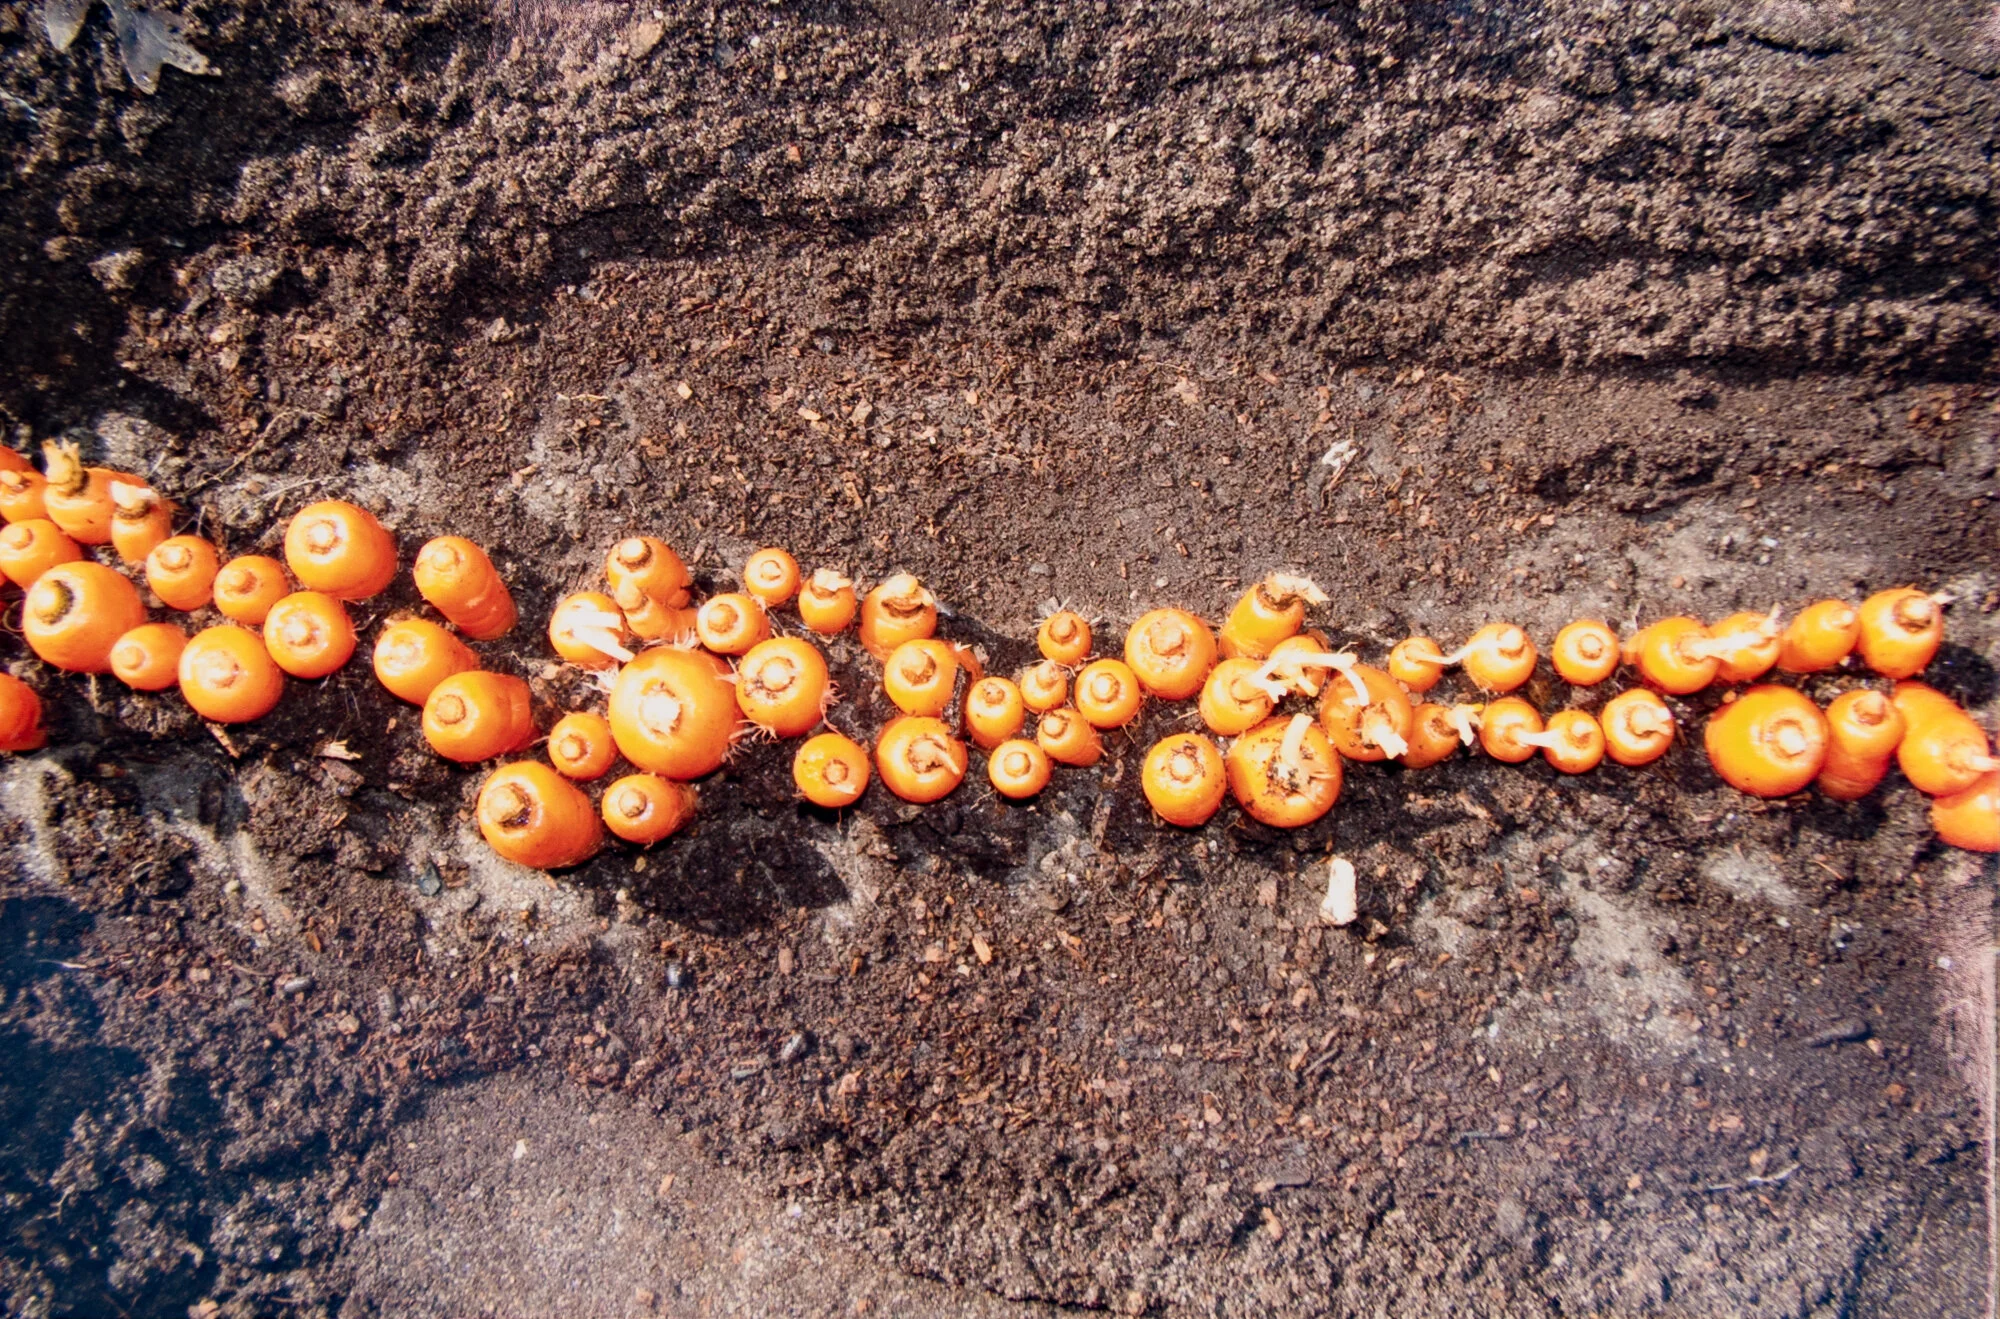
Carrots can be planted in the spring and again in August. Build a chicken wire pen around a winter carrot patch; then fill the pen with two feet of leaves, to cover the planted carrots. This keeps the shrews out. Harvest all winter long. Push aside the snow and under the leaves will be carrots.
“G” is for grapes.
Grapes need structure. Put posts in the ground and drill holes large enough for heavy coated wire to fit through. Give it three rows, six feet high. Plant the grapes along the structure, and tie them to the posts and wires as they grow.
“L” is for lettuce.
Paul grows iceberg using the BPM.
“M” is for melons.
Use the BPM.
“O” is for onions.
Paul starts from seed and uses sets. Plant in rows using the BPM. Pots are not needed.
“P” is for potatoes, peppers, pumpkins and peas.
For potatoes, start from sets or start from last year's sprouted spuds. Knock off sprouts if they get too long. Cut the potatoes into pieces. Paul uses the furrow attachment for the tilled ground, places potato pieces in the furrow, and covers them with dirt. As potatoes grow, fill more dirt into the furrow to keep them covered. No pots are needed.
Use the BPM to grow rows of pumpkins and squash. Use pots with no bottoms. They can also be planted in holes dug and prepared with manure. Make use of the pile as it ages.
Peas require a structure. First spread rotted manure and till. Then create a wall with re-rod or wood posts and tie seven-foot plastic deer netting to them (the same thing Paul fences the entire garden in with). Plant peas on both sides of the netting. If the garden is not fenced in, then a lower, smaller net will need to be tied to the larger one to cover the emerging peas as protection from rabbits. Otherwise, fence in the entire garden.
“S” is for spinach.
Spinach is started indoors in flats, transferred to small pots, then planted in rows with the BPM, and covered with bottomless pots.
“T” is for tomatoes.
Start tomato seeds in flats and then transfer to 6" pots, or buy tomato plants ready to be planted. Dig a large hole for each plant. Fill a wheel barrow full of rotted manure and a little 10-10-10 fertilizer. Fertilize the holes, and place tomato plants. Surround each plant with a strong wire cage. Paul covers the cages with clear plastic to protect from wind. The cages support the plants and help focus the watering. Support stakes may be added later.
The Archives:






Preserving for the future:
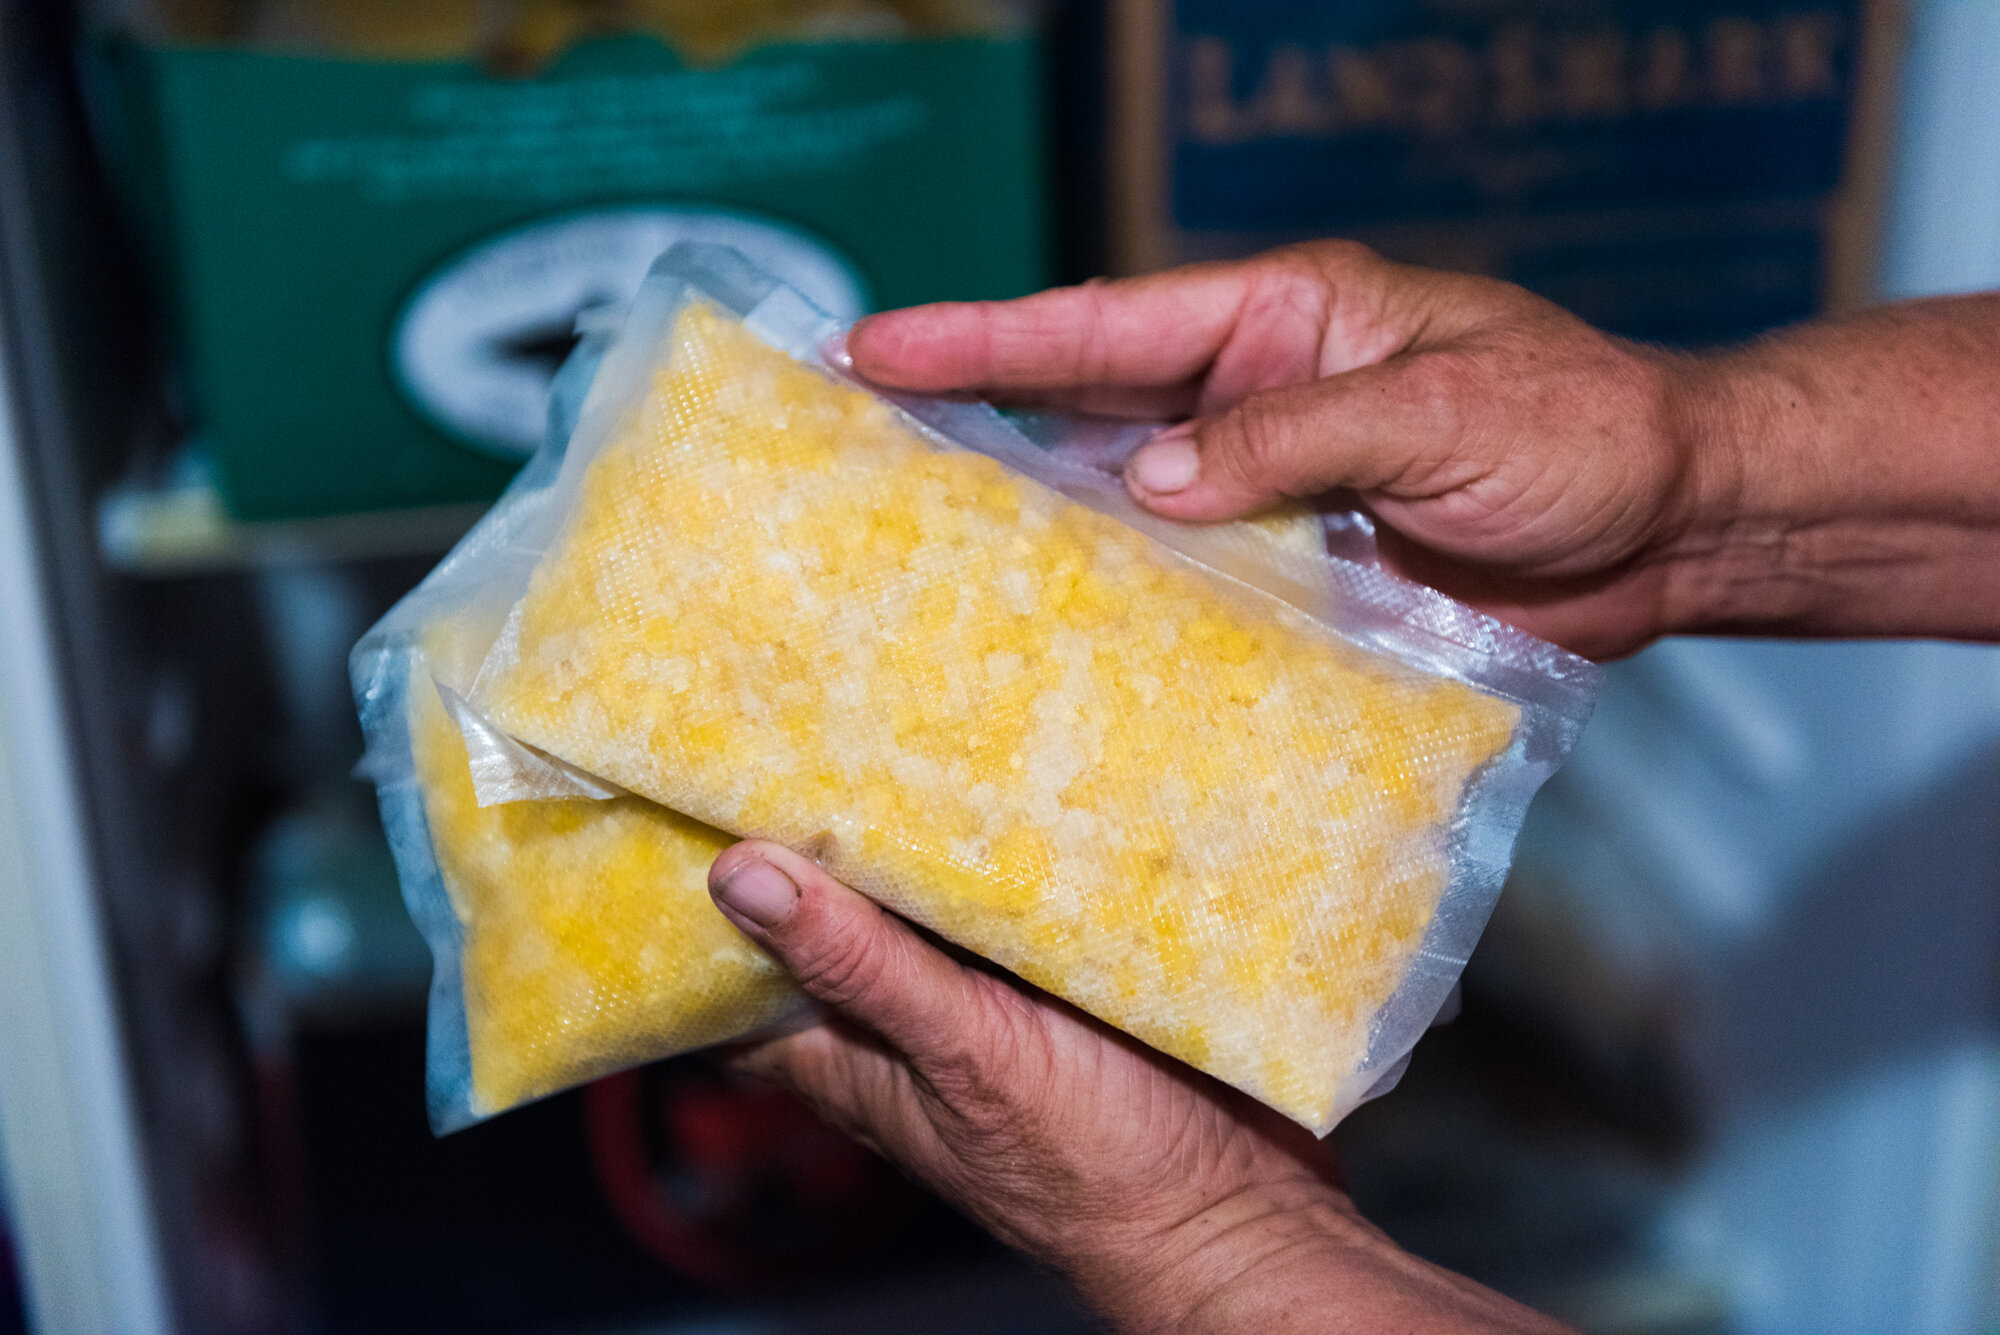
Harvest crops of corn, peas, beans, etc. Clean and prepare the vegetables or fruits. Blanch for two to three minutes in boiling water, then submerge in ice cold water to immediately stop the cooking. Drain, package, and vacuum seal the harvest. Some crops, like peas and corn, can be very wet, so absorb any excess moisture with paper towels or double bag them. Peppers and onions can be chopped, cubed, and frozen as is. Whole peppers can be filled with hamburger and frozen.
Preserving is the final step to enjoying healthy, nutritional food year-round. The easiest way to preserve most things is to vacuum seal and freeze. Paul uses Cabela’s model CG-15 sealer.
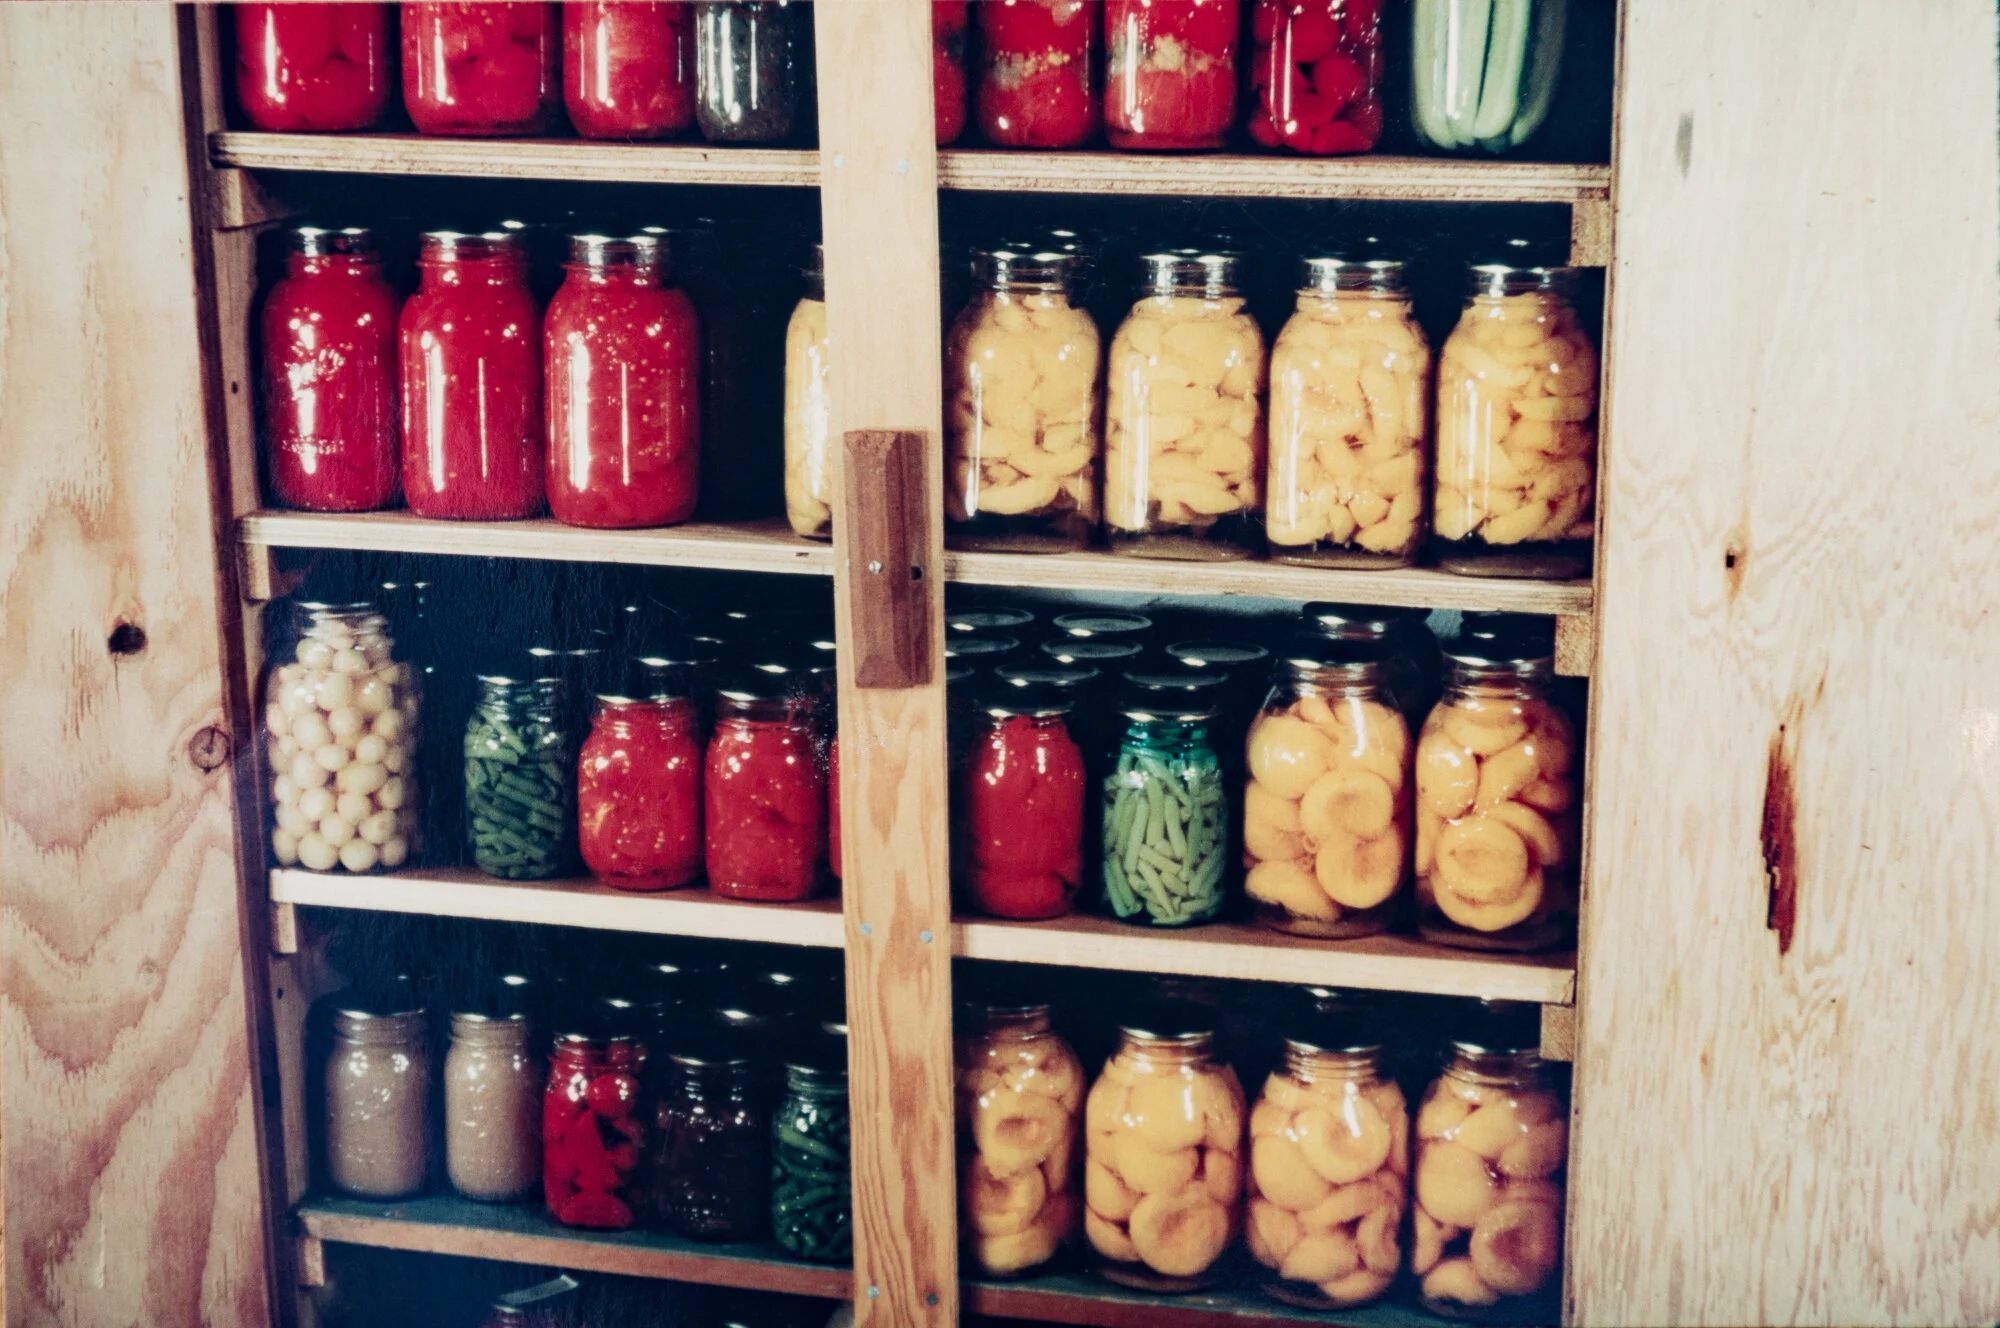
Paul makes jelly from raspberries, grapes, and crabapples. He also makes apple juice and apple sauce. New Guinea, hubbard, and butternut squash, as well as sweet and white potatoes, can be kept in a cool basement for most of the winter. Yellow onions keep best hung in a netted bag, in a cool place. Tomatoes are best put up in mason jars, canned. Red peppers are made into relish.




QUICKFIRE Q’S:
Q: Why did you choose to live in your state/city/town?
A: My ancestors, grandparents, parents and relatives have been on the Vineyard for many generations. I never thought about leaving. I have everything I want right here.
Q: What is your favorite brunch spot nearby?
A: I don’t eat out. I’m very particular about eating healthy food where I know how it’s been grown and or caught. Why go out and spend a lot of money when something I have grown and cooked at home will taste much better?
Q: Best cup of coffee in the neighborhood?
A: I don’t drink coffee or eat out at restaurants. I have been to maybe 3-4 restaurants in my life.
Q: Is there one morning ritual you can’t live without?
A: Looking out the window, checking the temperature and seeing what the weather is like. Then I’ll work off that.
Q: What’s your favorite ‘80s or ’90s jam?
A: Listening to the birds sing is my favorite music.
Q: Where was the last place you traveled to? What’s one not-to-miss activity there?
A: Chittenden Vermont. Hiking in the woods.
Q: Do you prefer traveling by train or car? If in the car, are you a driver, a passenger or a backseat driver?
A: I prefer traveling by car and I would be the driver.
For more, listen to Paul’s full interview below!
A Wealth of History Uncovered:
Over the years of working as a professional landscaper, Paul has amassed what is likely the largest arrowhead collection on Martha’s Vineyard. Paul was concerned about sharing this big secret, which has been hiding safely inside his home for many years. Sharing his collection with you brings me so much joy. Paul artfully designed each of the layouts. All I can say is WOW! Just…WOW!


